
How to Publish GIF Stickers to use in your Instagram Stories


Welcome back to Part 2 in this series of posts on making and publishing GIF Stickers for Instagram. In Part 1, I covered some of reasons why I started making GIF stickers, and showed two simple techniques you can use to make GIF Stickers of your own. This post will talk about the GIPHY platform, and publishing your GIFs for Instagram.
Hopefully you will now have a brand new animated GIF Sticker ready to publish for Instagram. So what now? To publish your own GIF stickers you must apply for verified artist (or brand) channel through GIPHY. GIPHY is a giant database where artists and brands can upload GIFs which the platform then syncs with other apps like Instagram, Facebook and WhatsApp allowing you to share GIFs there.
If you want to make GIF stickers to use on Instagram - you need to publish it to GIPHY first. Fortunately setting up an account and publishing GIF stickers is pretty straightforward. GIPHY also have some helpful articles on this too.
I’m going to discuss how to apply and be a verified artist. If you’re a company, recording artist, actor or public figure, you can apply for brand channel instead.


Step 1: Set up a GIPHY account.
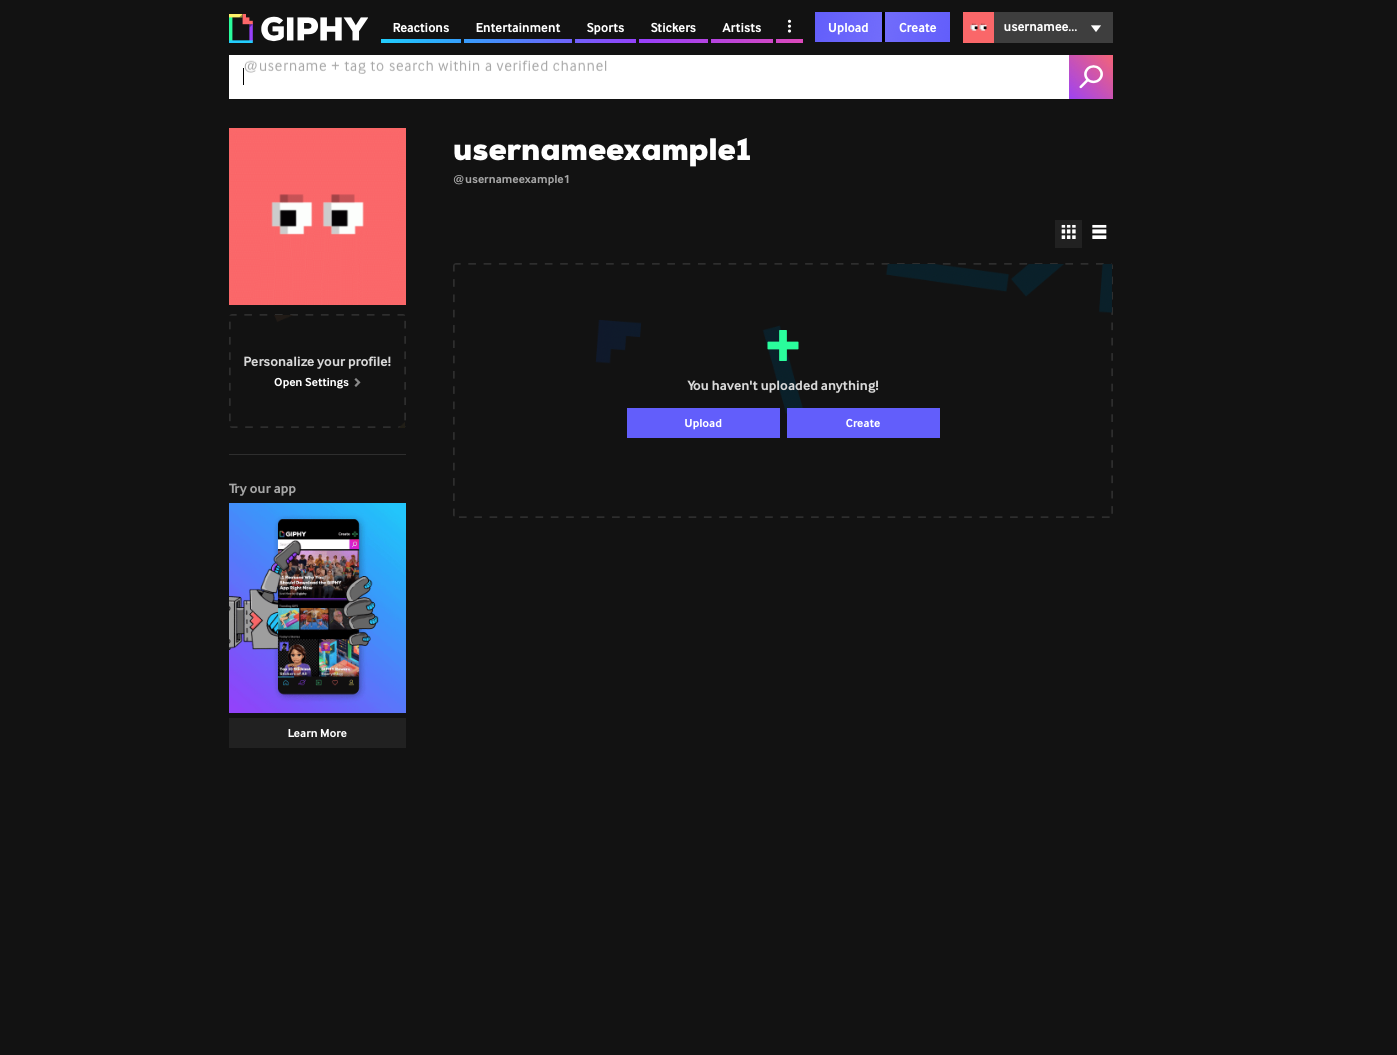
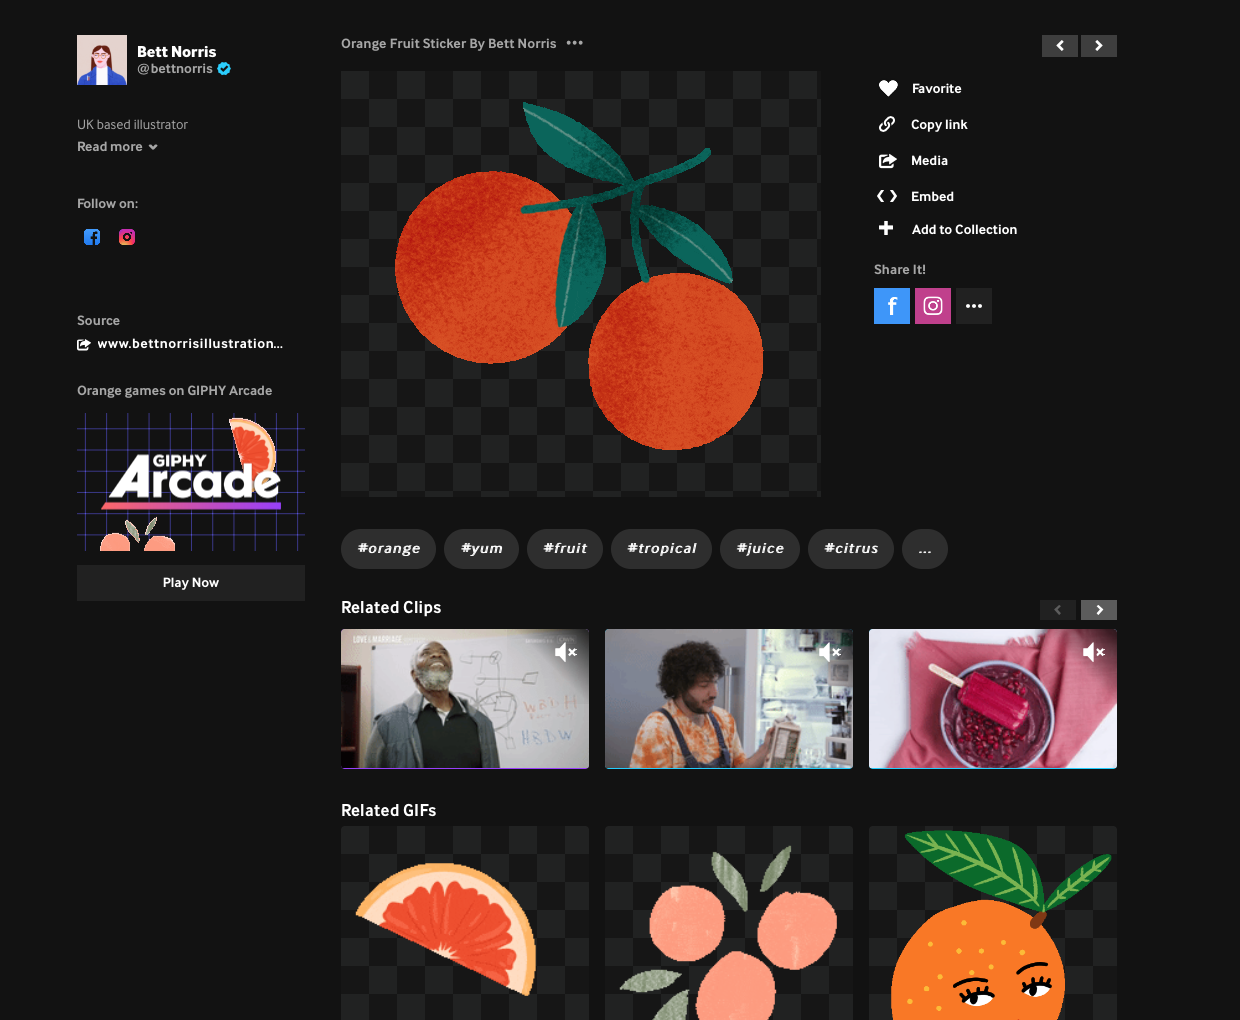
All artists have their own channel page which you can browse here. Before you can apply to be a verified artist you will need to set up a basic GIPHY account. From here you can pick a username and add a profile pic. The profile picture can be an animated GIF or a still image, and if you are applying for an artist channel your username can be your own name or a pseudonym.
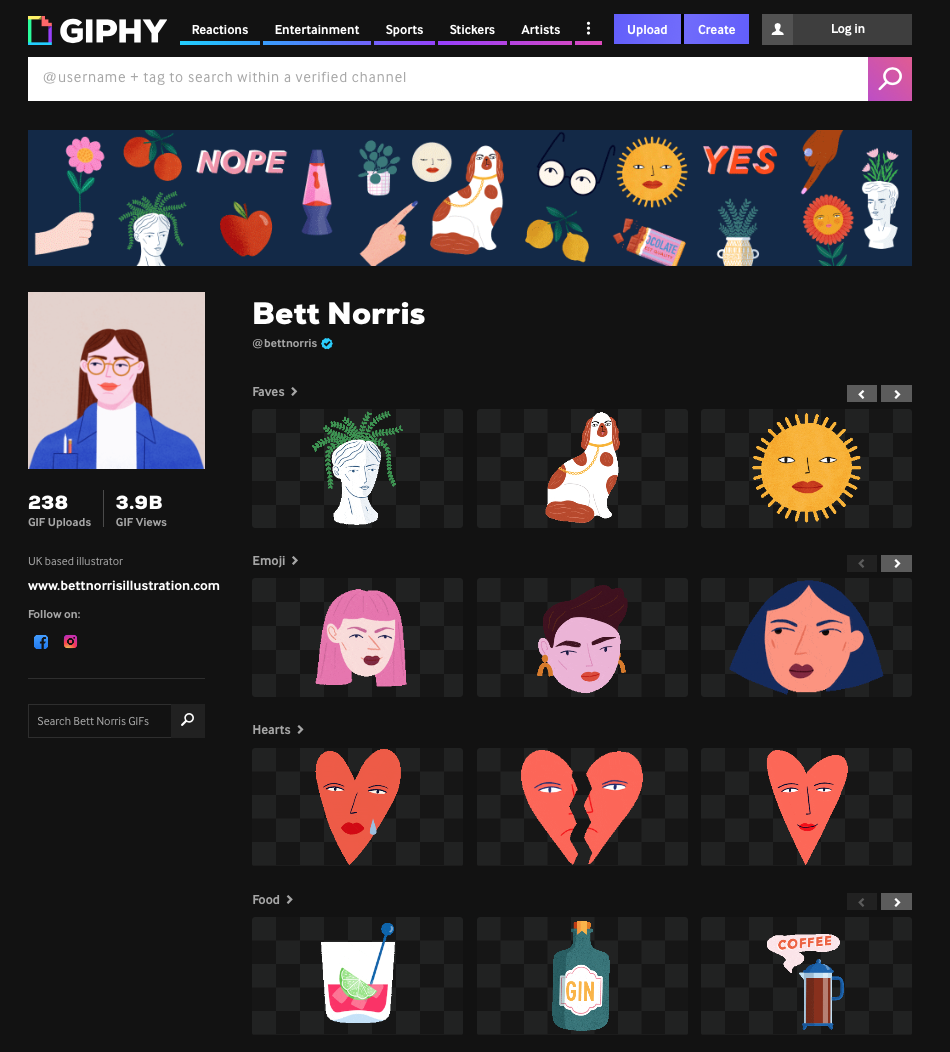
Your new account channel will probably look something like this:
Step 2: Upload your GIFs
I cover some simple ways to make GIF Stickers in Part 1 of this post. You will need to upload at least 5 GIFs to GIPHY before you can apply to be an artist. You might decide to make your first five GIFs part of a themed collection, or make them all totally different. I like to make different sets of GIFs for different situations and events.

You can see below Giphy gives you the choice to upload GIFs or Stickers - I covered the difference between a traditional GIF and a GIF Sticker in Part 1- but essentially, for your artwork to appear on Instagram you must upload a Sticker with a transparent background. If you’re not sure if your sticker qualifies you can read GIPHYS ‘best practices’ here.
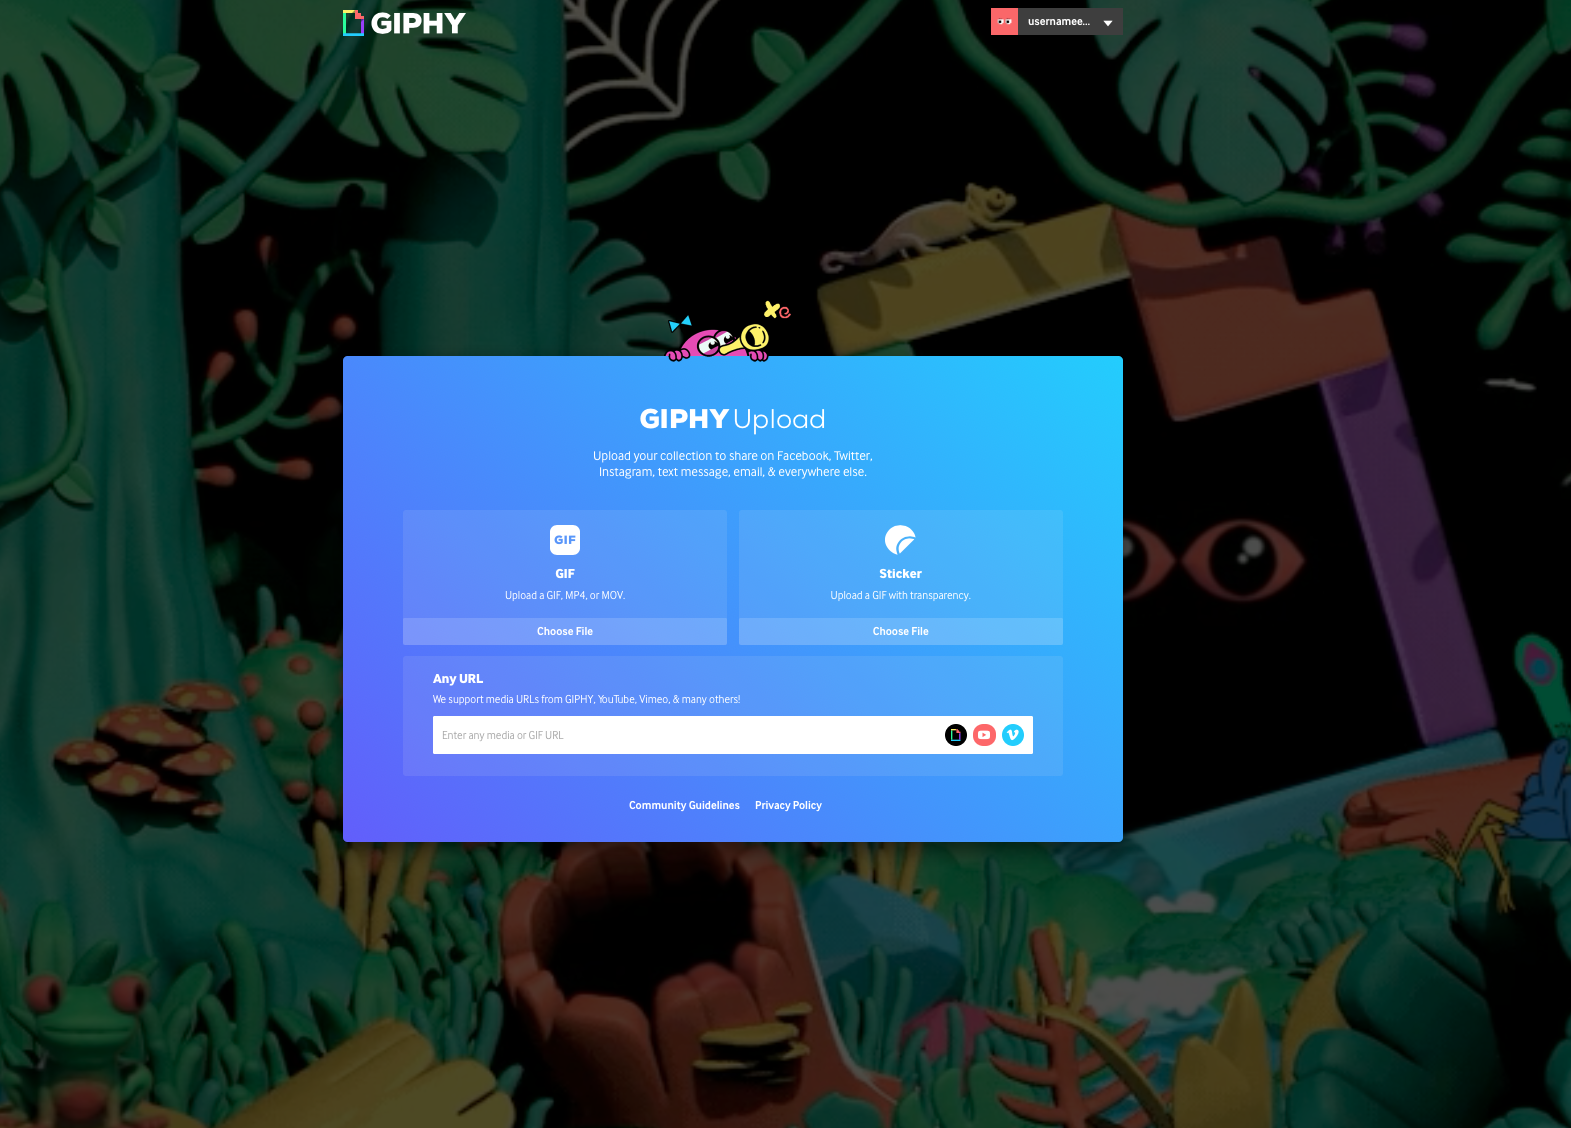
When you select your file, GIPHY will give you some further options. One of these is adding ‘tags’ to your sticker. Adding the right tags is really important as these will help people find your Sticker on instagram. I always add my name, and other words or phrases I can think of which relate to that sticker. I try and use a combination of obvious tags, and some unique ones which help me direct other people to my GIFs (more on how I categorise my GIFs for Instagram later!)
You can also add a source for your GIF. I add my website here, that way if someone clicks on my GIF in GIPHY they will be directed there.
Make sure that the Public option is turned on and that you select the correct rating (all my stickers are rated G)
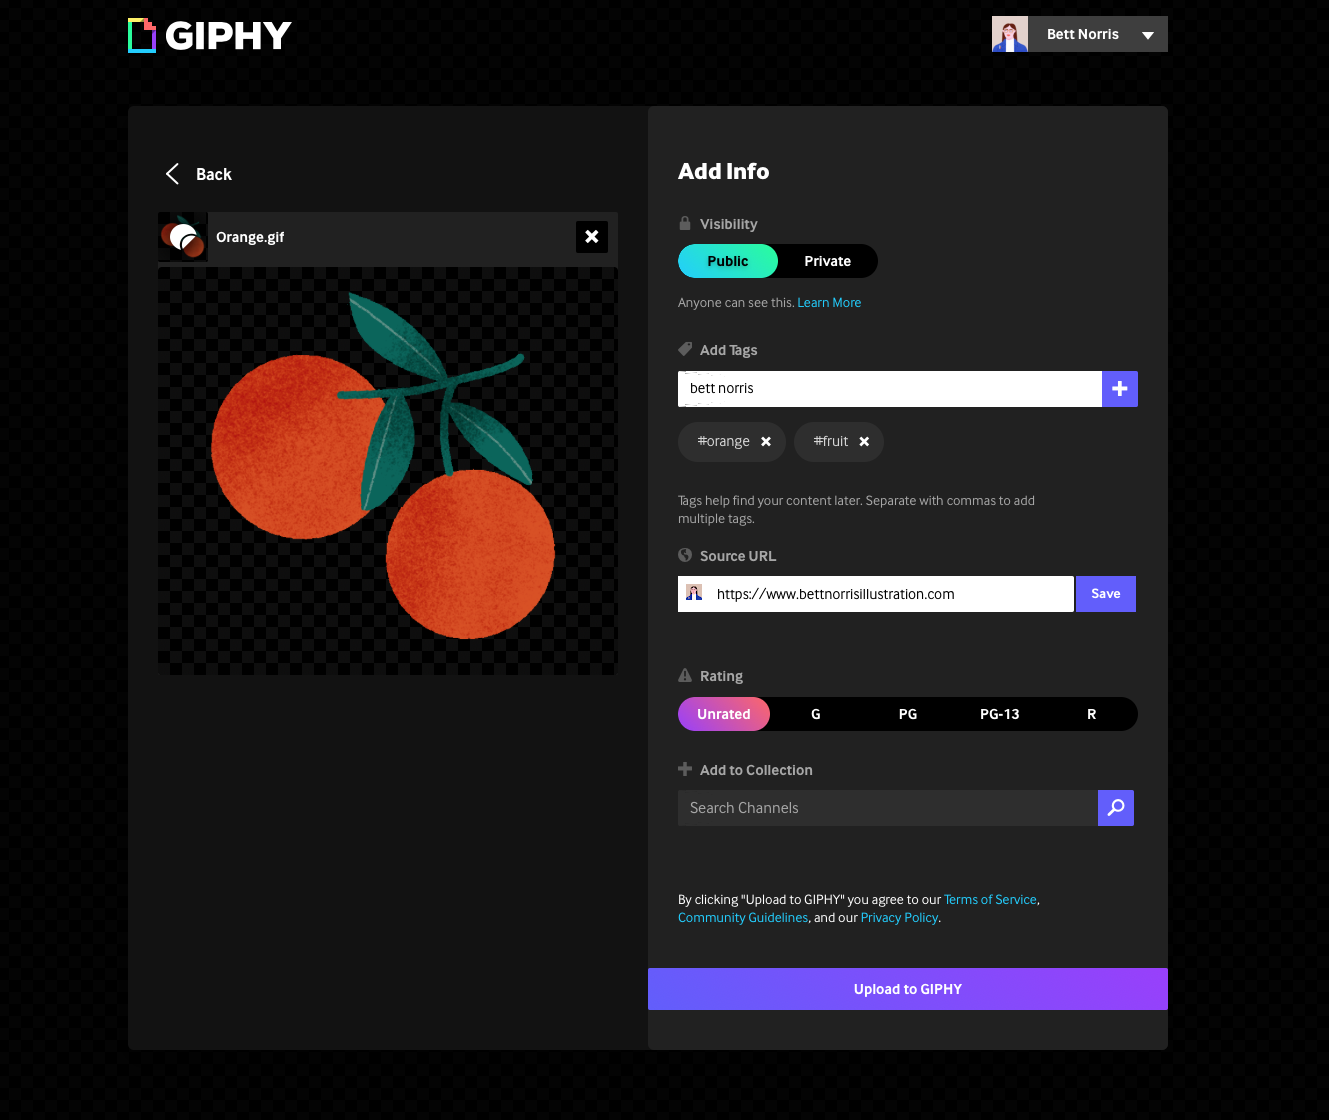
Click ‘Upload to GIPHY’ and your GIF should appear on your channel.
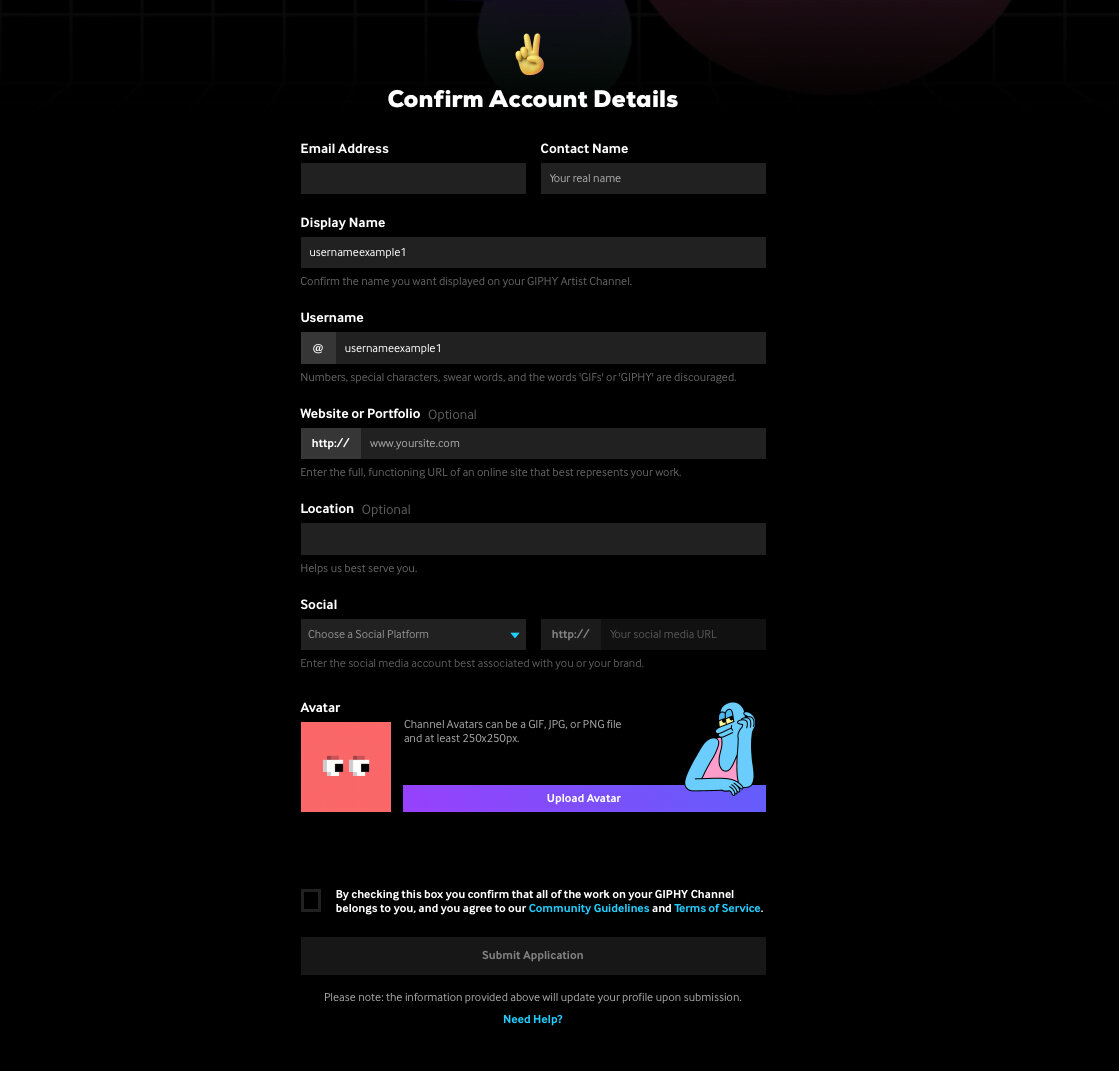
Step 3: Apply for an Artist Channel
Once you have a basic account set up with at least five GIFS, you can access the application page to apply to be a verified artist. The application is pretty straightforward but GIPHY publish some tips on making sure your application is successful.
Step 4: Wait (and check back!)
The verification process can take up to week so bear this in mind if you are planning on making stickers for a particular event. After my account was verified, it took a while for my first Stickers to appear in Instagram GIF searches. For new GIFs, it normally takes a few hours, depending on the time of day.
Step 5: Add Your GIF Sticker to Your Instagram Story
To use your new GIF stickers in your own stories, you will need to search for it through the stickers button.
Log on to your Instagram account, and select the photo/video/image you are going to use for your Story.
Tap the Stickers button, and use the search bar to find you GIF - you can search for your GIPHY account name or try one of the tags you added when uploaded your GIF.
Tap on the Sticker you want to use - you can then reposition or transform it in your story.
Post your story to Instagram and share your GIF Sticker with your followers!

Some (minor) downsides
I found making stickers was a really good way for me to experiment with basic animation. However there are few minor things I would change if I could.
Copyright
There no easy way to trace who has made a GIF once it is on Instagram (or any other platform besides GIPHY) If a potential client wanted to know the designer of a GIF the only way to find out would be to visit GIPHY to search for the GIF, and try to find the artist’s channel that way.
Quality
Giphy compresses GIF files to make them smaller, which has an impact the resolution of the artwork. I have found that simpler GIFs without much texture seem to compress better, however this could create issues when working with clients who aren’t familiar with GIFs and the potential limitations.
Categorising
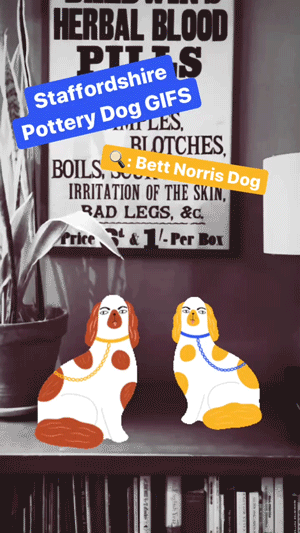
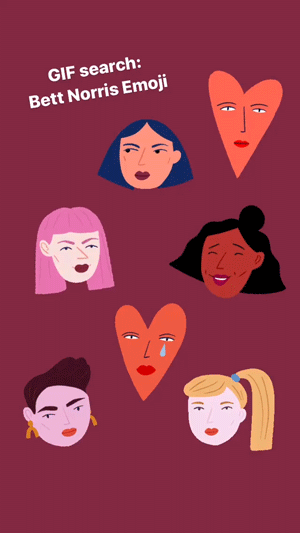
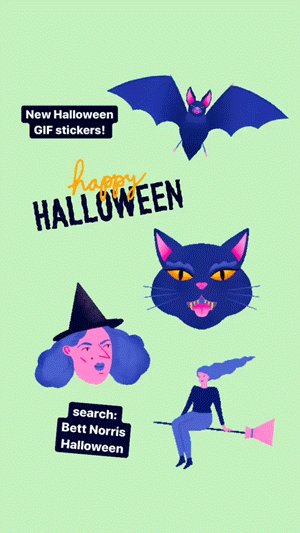
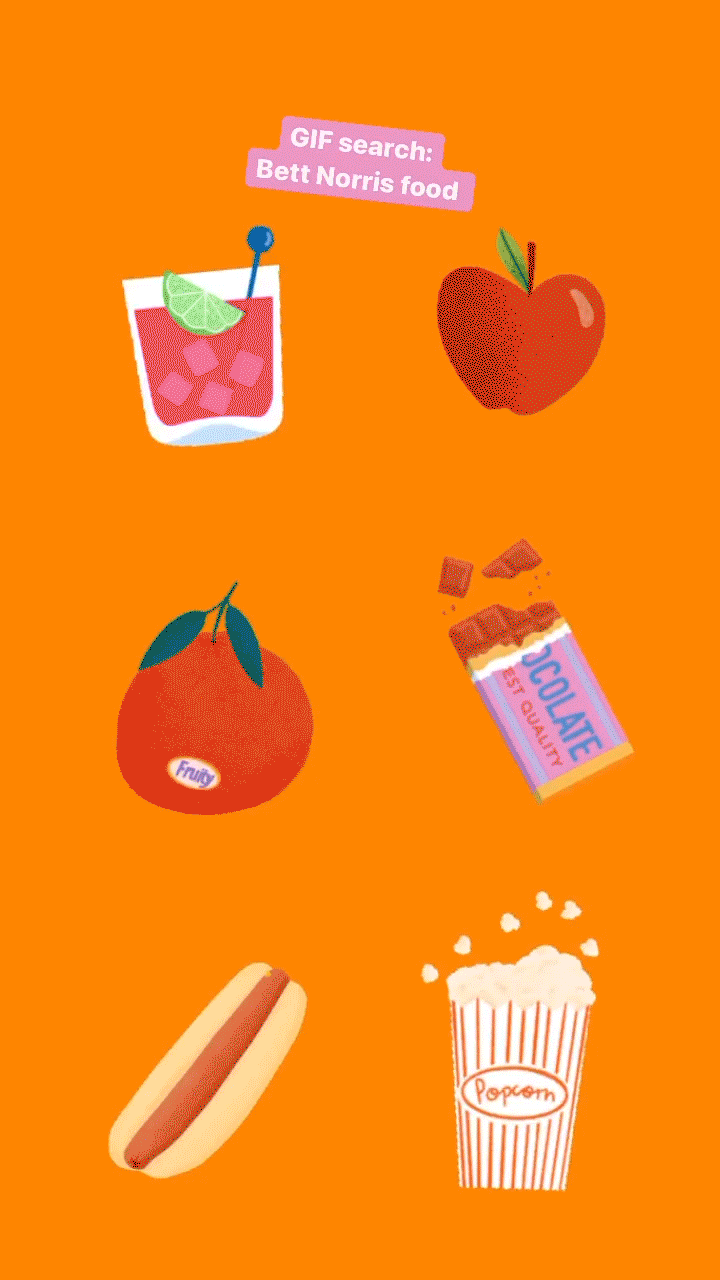
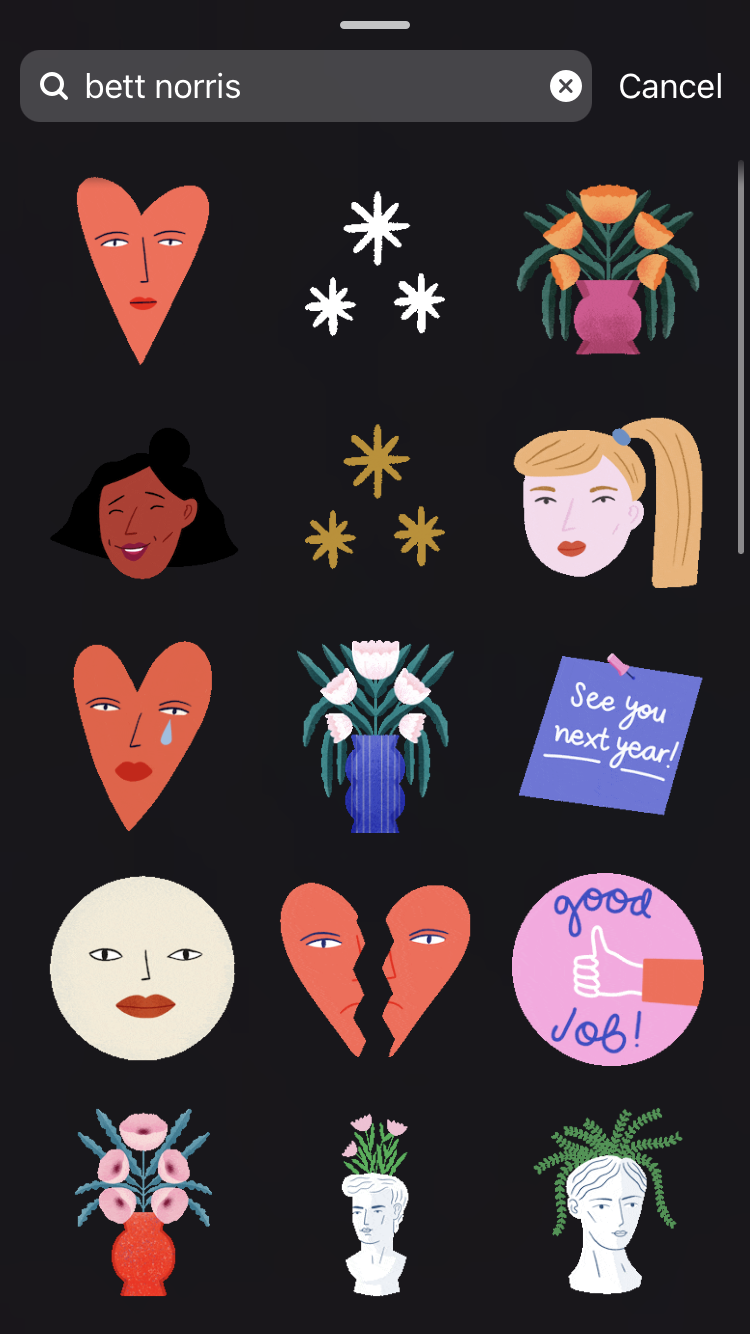
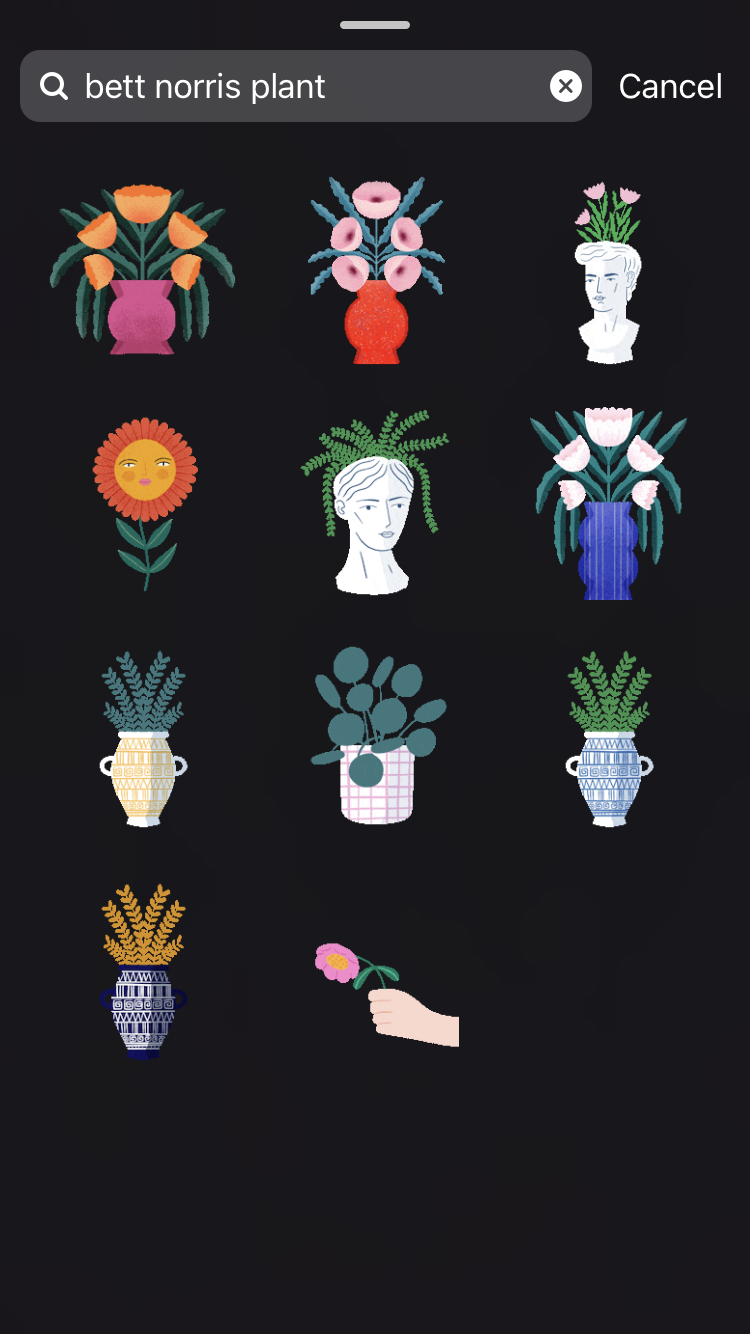
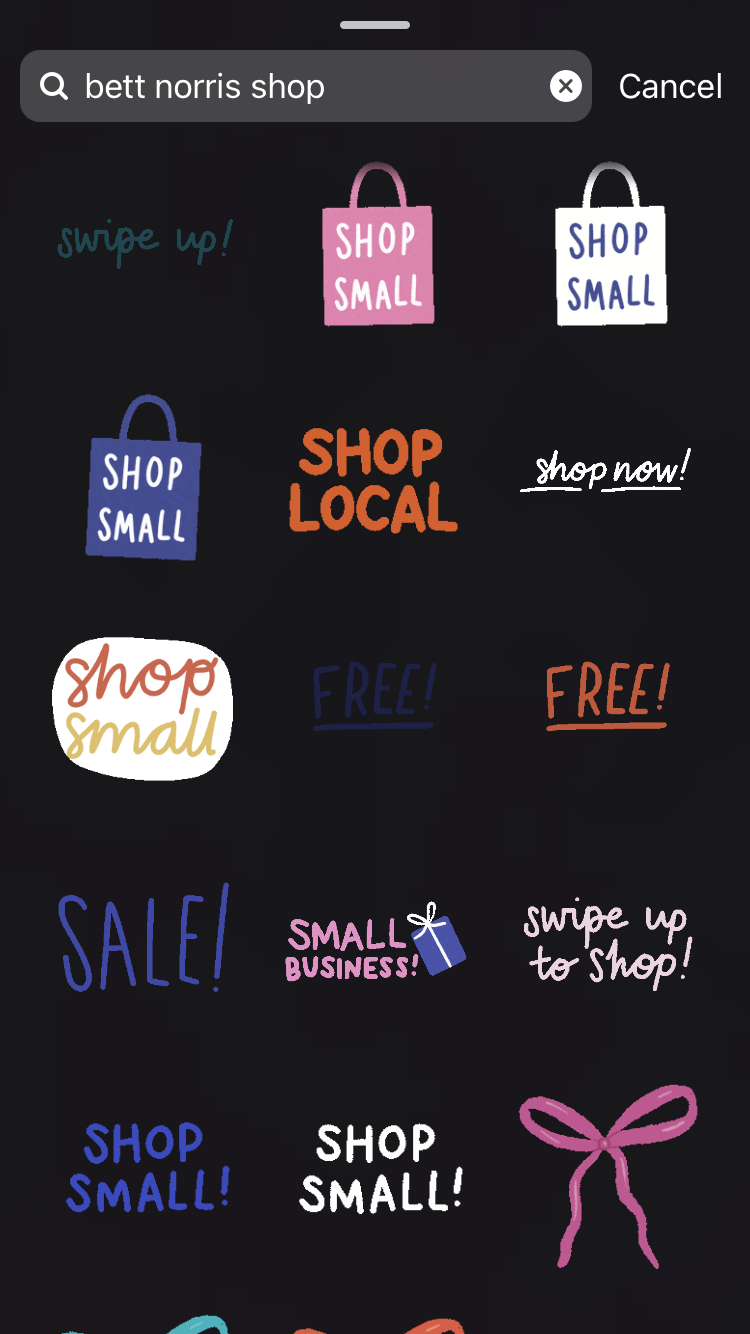
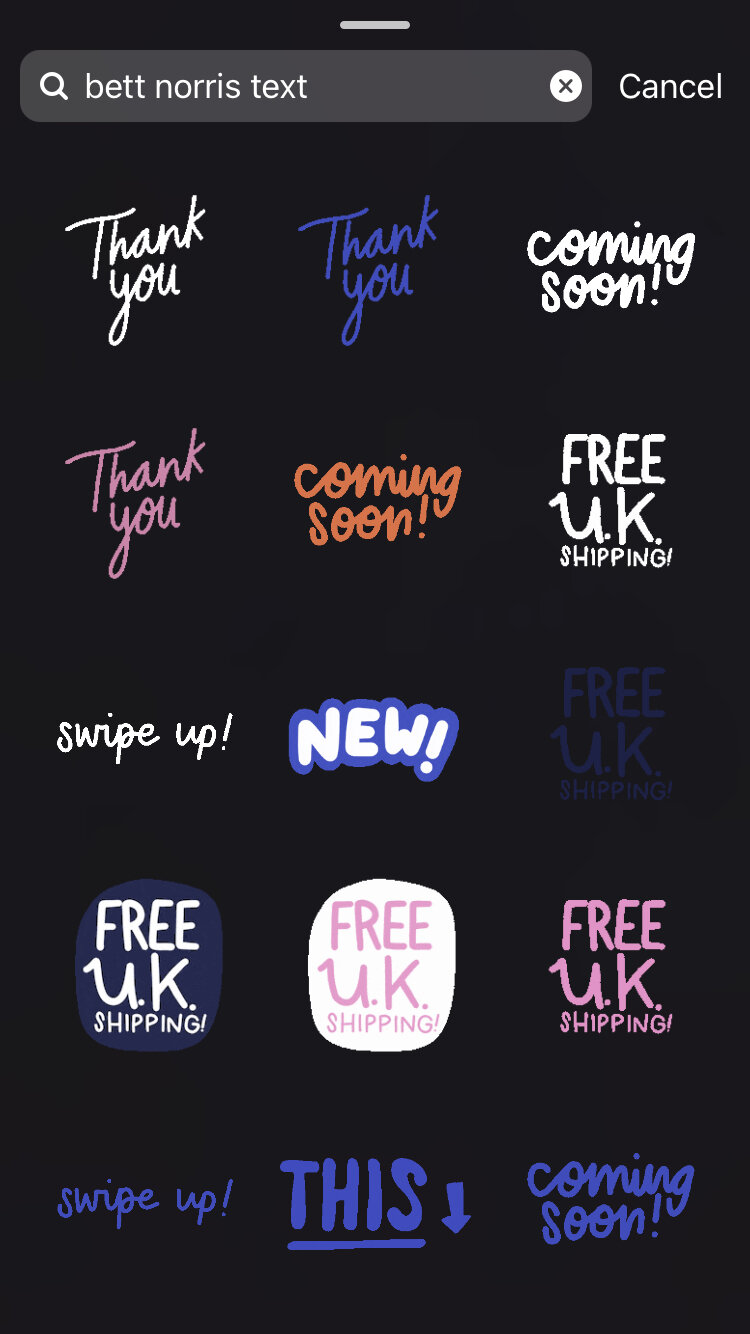
There isn’t a way of categorising your GIFs for instagram - to discover or find your stickers or those other users have created, you have to rely on the search function. Instagram only displays the top few stickers relating to that user or tag, for example, when you search ‘Bett Norris’ you will only see about half of the stickers I have tagged with my name. One way round this is to tag with more specific phrases or word combinations and direct people to those. For example, ‘Bett Norris Plant’ etc.
So that’s a brief explainer on how to get your own animated GIF Stickers published on instagram. I love reading comments so please let me know if you have any questions or think I’ve missed anything out!
If you make and publish GIFs using the techniques I’ve covered I’d love to see them!
To be the first to know about future blog posts, subscribe to my newsletter