
Making Animated GIF Stickers for Instagram


Following on from my last post, I’m going to talk about how to create and publish GIF Stickers on Instagram. If you’re not sure what I’m talking about - GIF Stickers are small, animated artworks that users add to Instagram stories for decoration and to express themselves.
I’m splitting this topic into two posts as there’s quite a lot to cover. This post will explore some simple ways to make GIF Stickers, and Part 2 will cover how to publish GIF stickers to use and share on Instagram.

There are already millions of GIFs currently on Instagram, but I decided to make them myself for a few reasons:
I thought it might be a good introduction to (basic!) animation.
I wanted to use stickers I’d designed myself to draw attention to important elements in my Stories, like call-to-actions or sales in my shop.
I couldn’t always find stickers of the specific things I wanted to use in my own Stories!
Overall I’ve found the experience to be a positive one - GIF Stickers make my stories stand out, and it’s fun to see how others use them in their Stories too.

So how can artists and designers get their own animated artwork on Instagram? To publish your own GIF Stickers you must apply for verified artist channel through GIPHY - a platform that allows artists and brands to upload GIF Stickers, which can then be discovered by other users on Instagram. They’re basically the middle man between artists and Instagram.
I will be covering how to set up a GIPHY account and how to apply to be a verified artist in Part 2, but in the meantime, you can see my GIPHY Artist channel page here.
GIFs and GIF Stickers
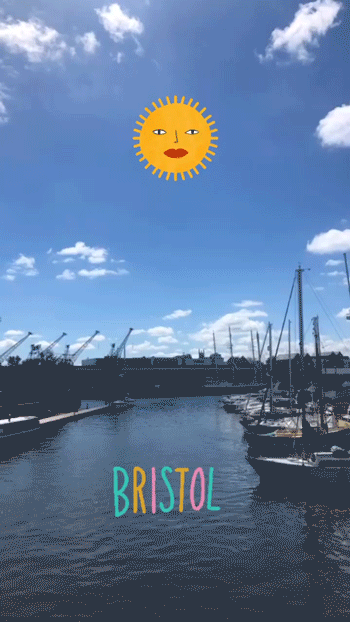
GIFs were invented back in 1987 by Steve Wilhite, a US software writer who was looking for a way to create animated images with small file sizes. GIFs are essentially just a series of images or video that will loop continuously. The GIFs I’m going to showing you how to make this post are known as ‘Stickers.’ A Sticker is a specific type of GIF that has a transparent background. This is important because if you want to use your GIFs on Instagram, they need to be stickers with transparent backgrounds.


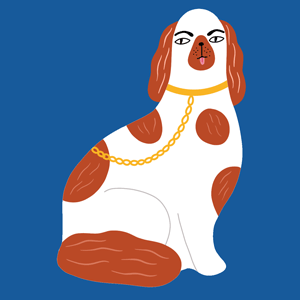
Examples above - GIF with the solid background (left) and GIF Sticker with transparent background (click/tap to enlarge)
Making GIF Stickers for Instagram
There are many ways to make GIF Stickers. I’m going to cover two techniques I use a lot to make (very simple!) Stickers with Procreate.
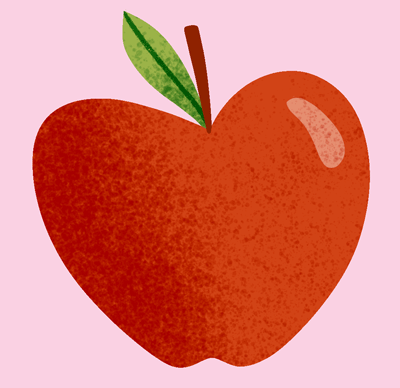
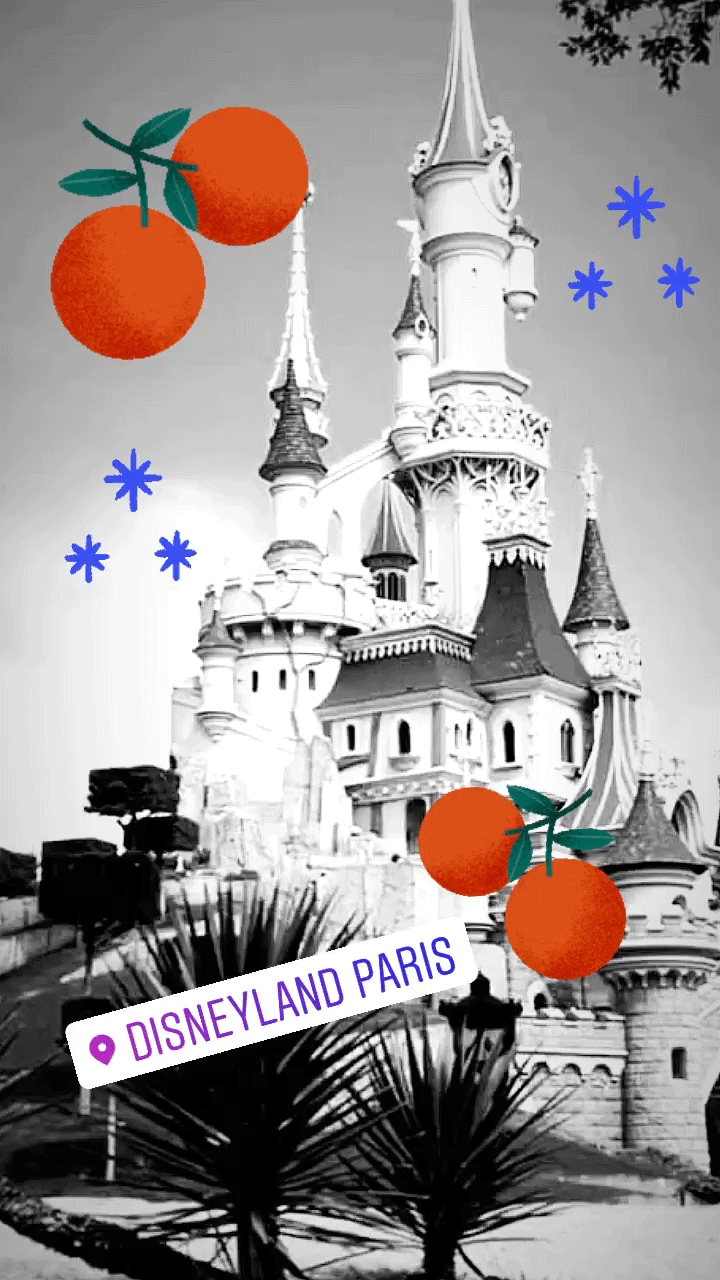
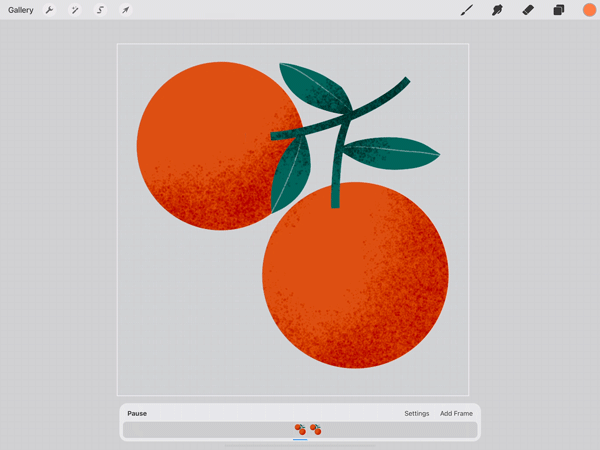
The first technique works well if you have a pre-existing design or piece of artwork you want to make into a Sticker. For this Sticker I have created an illustration of some oranges in Procreate and have animated it to make it move back and forth.
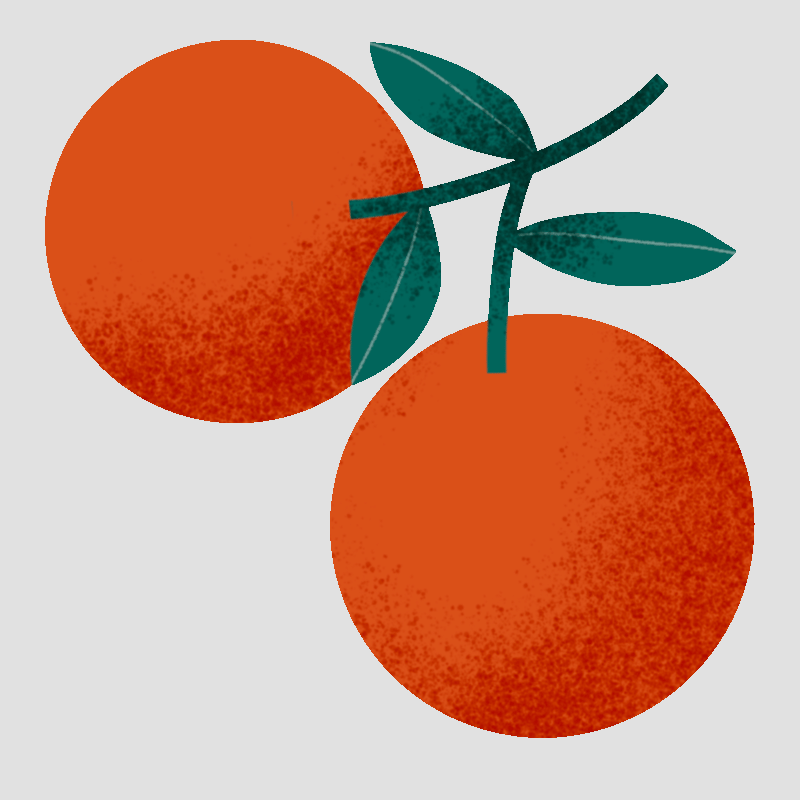
Step 1: Create your Design
I‘ve kept my design simple as GIPHY compresses your GIFs during upload. I’ve found simple designs work better.
I’ve grouped my layers and renamed the group Frame 1 (you can also merge this group to a single layer if you prefer).
Now is also good time to turn off the visibility in the Background Layer (remember that GIF Stickers have transparent backgrounds)
Step 2: Animate your Sticker
Under the Canvas menu, switch ‘Animation Assist’ to on. You will see a new bar appear at the bottom of the screen. This is the animation bar which displays the frames of your animation. From here you can preview your animation using play/pause, add new frames, and control the settings in your animation.
Duplicate your group and name it Frame 2. You will notice that a new frame automatically appears next to the previous one in the animation bar.
Select Frame 2 from the layers panel and rotate the image a few degrees using the Transform tool. You can experiment with different types of transformation - smaller rotations will be more subtle, or you could try changing the size or location of the object.
Tapping ‘play’ on the animation bar will show you a preview of the animation. The default number of frames per second is 15 - which you’ll see is pretty fast! Most of my animations are about 3-6 Frames per second which you can adjust from the ‘settings’ menu.
Step 3: Export your Sticker
When you are happy with your animation, export it by selecting Animated GIF from the Share menu. This will open a new box where you have another opportunity to adjust the frame rate, and to check your background is set to transparent.
When you tap export, you will be prompted to choose a place to save your GIF. I use Airdrop to send it to my computer, ready to upload to GIPHY.
Congratulations! You’ve just created you first GIF Sticker!
Animating Text
Another technique I use is one to animate hand written text. I use text GIFs for events and special occasions, to advertise my shop, and just for anything I want to draw attention to!
Once again I’m using Procreate but you could adapt this technique for Photoshop.


To Make a Handwritten Text Sticker:
Write your word or phrase on a new layer. Again, make sure the background visibility is off.
Like before, turn Animation Assist to on
Add a new empty frame (from the Animation bar)
In your new frame, trace over your original text - don’t be too precise!
Using the play button, test your animation. In settings control the speed by adjusting the frame rate
Export as an Animated GIF from the share menu (check the background visibility is off!).
Save your GIF ready to upload to Giphy.
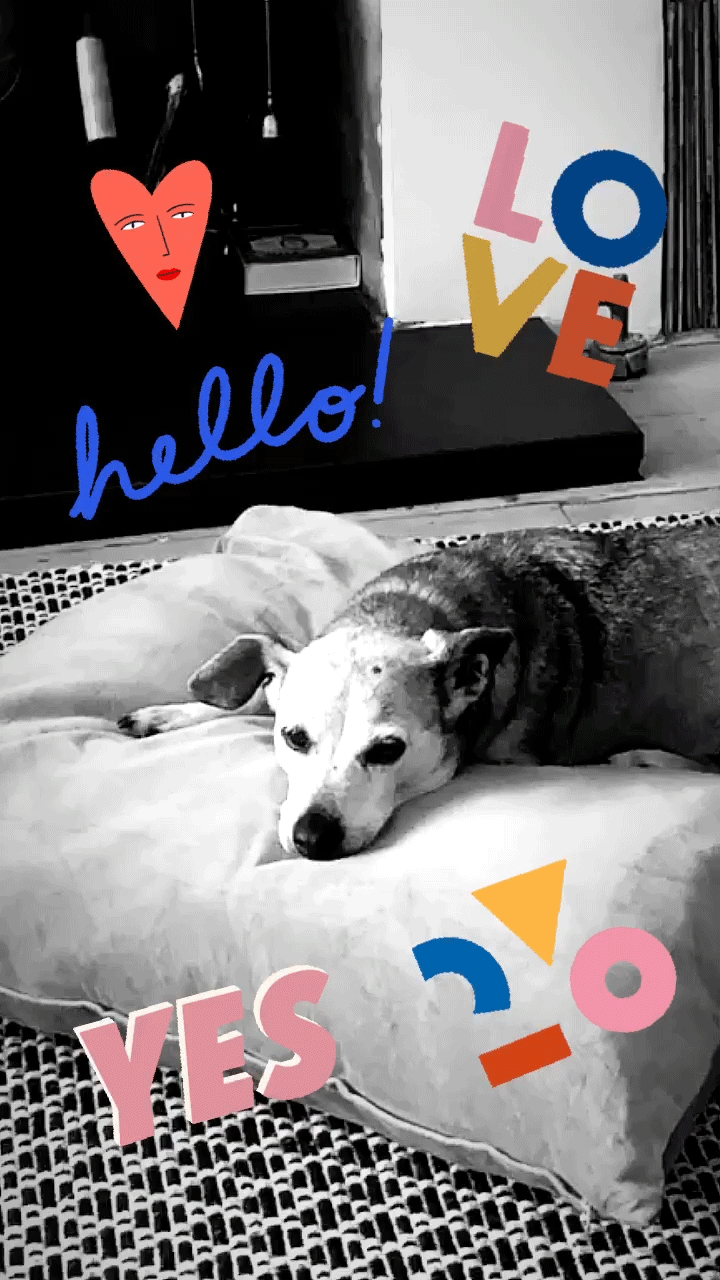
Your Sticker should look something like this:

I hope you’ve found this post on GIF-making informative! Like anything I found that the more of these I made, the more confident I got with the process and the more I was able to attempt more complex animation!
Look out for Part 2 of this series where I will discuss how to set up a GIPHY account and publish GIFs to use on Instagram. To hear about it first, subscribe to my newsletter.